How To Set Up Multiple Monitors From a Single Laptop HDMI Port

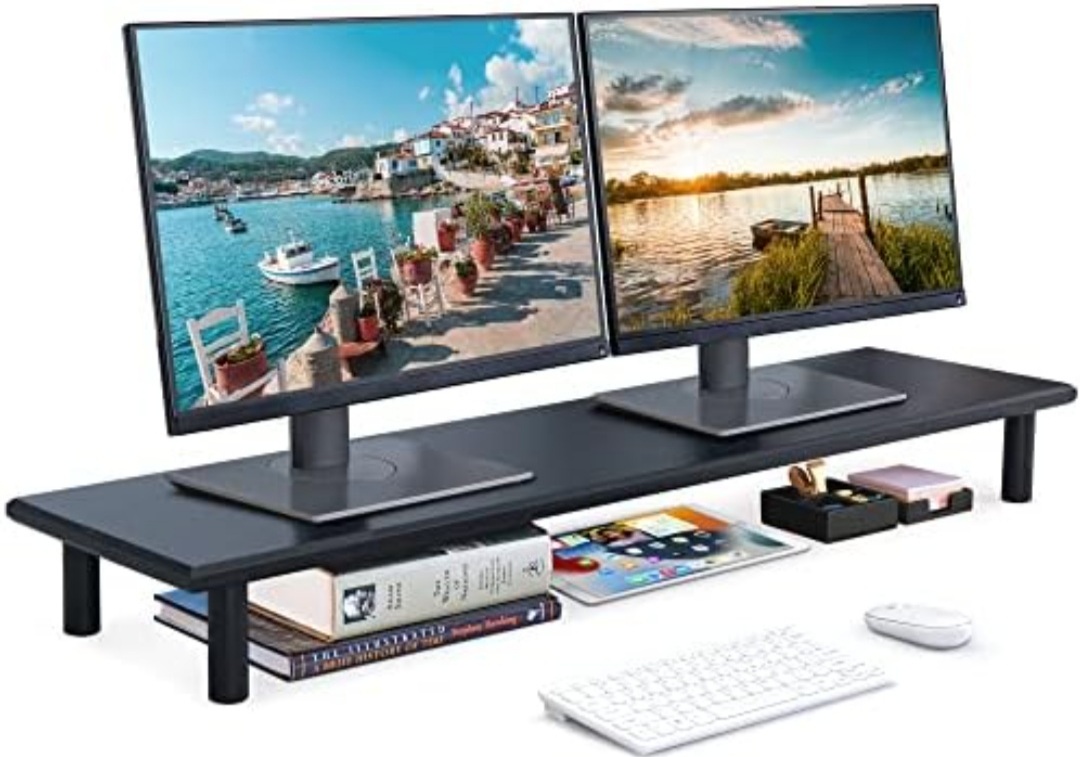
Boosting productivity and workflow often means more screen space. If you’re used to juggling windows on a single laptop screen, expanding your digital workspace with multiple monitors can be a game-changer. Luckily, even if your laptop only has a single HDMI port, you can still achieve a multi-monitor setup.
Methods for Connecting Multiple Monitors
Let’s explore the different ways to achieve your multi-monitor dreams:
1. HDMI Splitter
- The Gist: An HDMI splitter takes a single HDMI signal and duplicates it across multiple HDMI outputs. This means all connected monitors will show the same image (mirroring).
- Pros: Simple setup, cost-effective for mirroring displays.
- Cons: Doesn’t allow you to extend your desktop; all monitors display identical content.
- Best for: Presentations or situations where you need to display the same content on multiple screens.
2. USB-C or Thunderbolt to HDMI Adapter
- The Gist: If your laptop has a USB-C or Thunderbolt port, these adapters connect to that port and give you an additional HDMI output.
- Pros: Provides an extra HDMI port, allowing for extended desktops.
- Cons: Might be more expensive than a simple splitter, requires your laptop to have a compatible port.
- Best for: Extending your desktop across multiple displays for increased productivity.
3. Docking Station
- The Gist: A docking station is a multi-purpose hub that often includes multiple HDMI ports, along with other connections like USB and Ethernet.
- Pros: Offers the most flexibility, can support numerous monitors, adds extra ports.
- Cons: Can be the most expensive option.
- Best for: A semi-permanent setup where you need a powerful multi-monitor solution and additional ports.
Steps for Setting Up Multiple Monitors
- Choose Your Method: Decide which method (splitter, adapter, or docking station) suits your needs and budget.
- Check Compatibility: Ensure your laptop and monitors are compatible with the equipment you’ve chosen.
- Connect the Hardware: Follow the instructions for your specific device, but generally, you’ll connect either your adapter, splitter, or docking station to your laptop, and then connect monitors to your chosen device.
- Configure Your Displays: Go into your operating system’s display settings (Windows: Settings -> System -> Display / Mac: System Preferences -> Displays). Here you can adjust:
- Arrangement: Set how your monitors are positioned relative to each other.
- Extend vs. Mirror: Choose whether you want to extend your desktop across your displays or have them mirror content.
Important Considerations
- Graphics Capabilities: Your laptop’s graphics card plays a role in how many monitors it can smoothly power. Check your specifications.
- Laptop Ports: Make sure you have the necessary ports (USB-C, Thunderbolt, or regular USB) to support the method you choose.
- Cable Quality: For smooth multi-monitor operation, use high-quality HDMI cables.
Unlock Enhanced Productivity
By understanding the methods and following these steps, you can easily transform your single-screen laptop into a productivity powerhouse with multiple monitors, no matter its port situation.


